Plain and Simple. Telecom fraud is theft!
So, you just received your monthly phone bill from your phone service provider. What you expect to see is a total somewhere around 30 or 40 bucks. However, to your amusement, you read "Total Due: $84,534.00" at the bottom of the bill. After a lengthy conversation with a department that you didn't even know existed until now "The Fraud Management Department" you are informed that the bill is accurate your IP PBX has placed more than 100,000 minutes of outbound calls to Cuba and North Korea. Furthermore, they want to know when and how you plan to pay.
Unfortunately, the scenario described above is not fictional and in no way exaggerated; more understated if anything. As with anything connected to the public Internet these days, VoIP-based phone systems
are the ultimate find for internet thieves. Actually, it is probably more accurate to label this activity as Organized Crime due to the amount of sophistication and organization that is needed to carry out these big hits with so much damage, so quickly. Telecom fraud has become increasingly more common due to the growing popularity of IP PBXs.
Unfortunately, this problem is only getting worse and continues to greatly impact VoIP service providers as well as individual businesses that operate through IPPBXs or Hosted Phone Systems. As the cost of ownership of IP PBXs decreases or even becomes free in the case of systems like Asterisk and 3CX, the number of systems being placed on the public Internet also increases.
How does it happen?
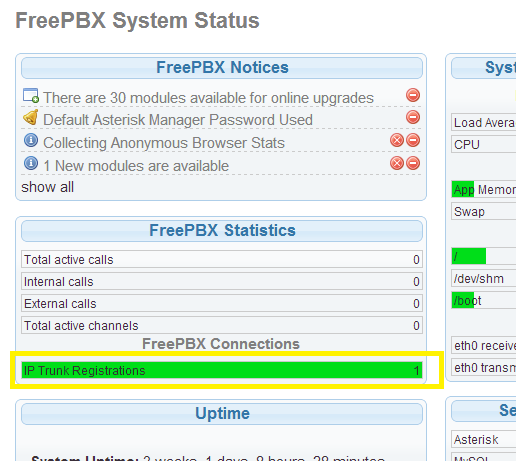
Most commonly, hackers find holes in IPPBXs that are connected to the public internet by using SIP scanners and exploiting system weaknesses. Typically these are default passwords being left in place, extensions being left unsecured, open SIP ports or incorrectly managed or non-existent of firewalls. All of which are relatively easy to fix and usually free. However, security is usually the last thing on the mind of your system integrator or that part-time PBX-Guru/buddy of yours that installed a free version of Asterisk for you (absolutely nothing wrong with Asterisk by the way!). Once these hackers enter your system, they move quickly. They operate undetected and terminate as many calls to the most expensive locations possible for as long as it takes for you or your service provider to recognize that your system just passed over a million calls to Cuba and North Korea. Never mind your issues with the State Department, you now have a $90K+ phone bill on your hands. And yes, your service provider will expect payment in full!
What is my responsibility?
While your service provider may actively monitor its network for suspicious activity and traffic patterns, it is ultimately the responsibility of the customer to protect their own network. Customers are responsible for all charges associated with their account whether fraudulent or not. It is the customer’s sole responsibility to take immediate action to prevent or block any fraudulent use. As the IP PBX owner, you are responsible for the security and administration of your phone system. This includes both physical security of the system and phones, as well as passwords, pins, remote users and network security. Your service provider may have systems in place to help detect and notify you of hacking attempts and fraud as a courtesy, but you are responsible for any charges incurred.
What can I do to protect my business?
It is not an impossible task to secure your IP PBX from the top 99.9% of all intrusion attempts and minimize the damage done by any intruder that sneaks past your security. Remember, Hackers are lazy (otherwise they'd have a real Job!), they are not going to spend hours trying to hack a system when they can just move on to another that is wide-open.
Summary:
Here are some easy to implement procedures to help protect your IP IPBX from intruders:
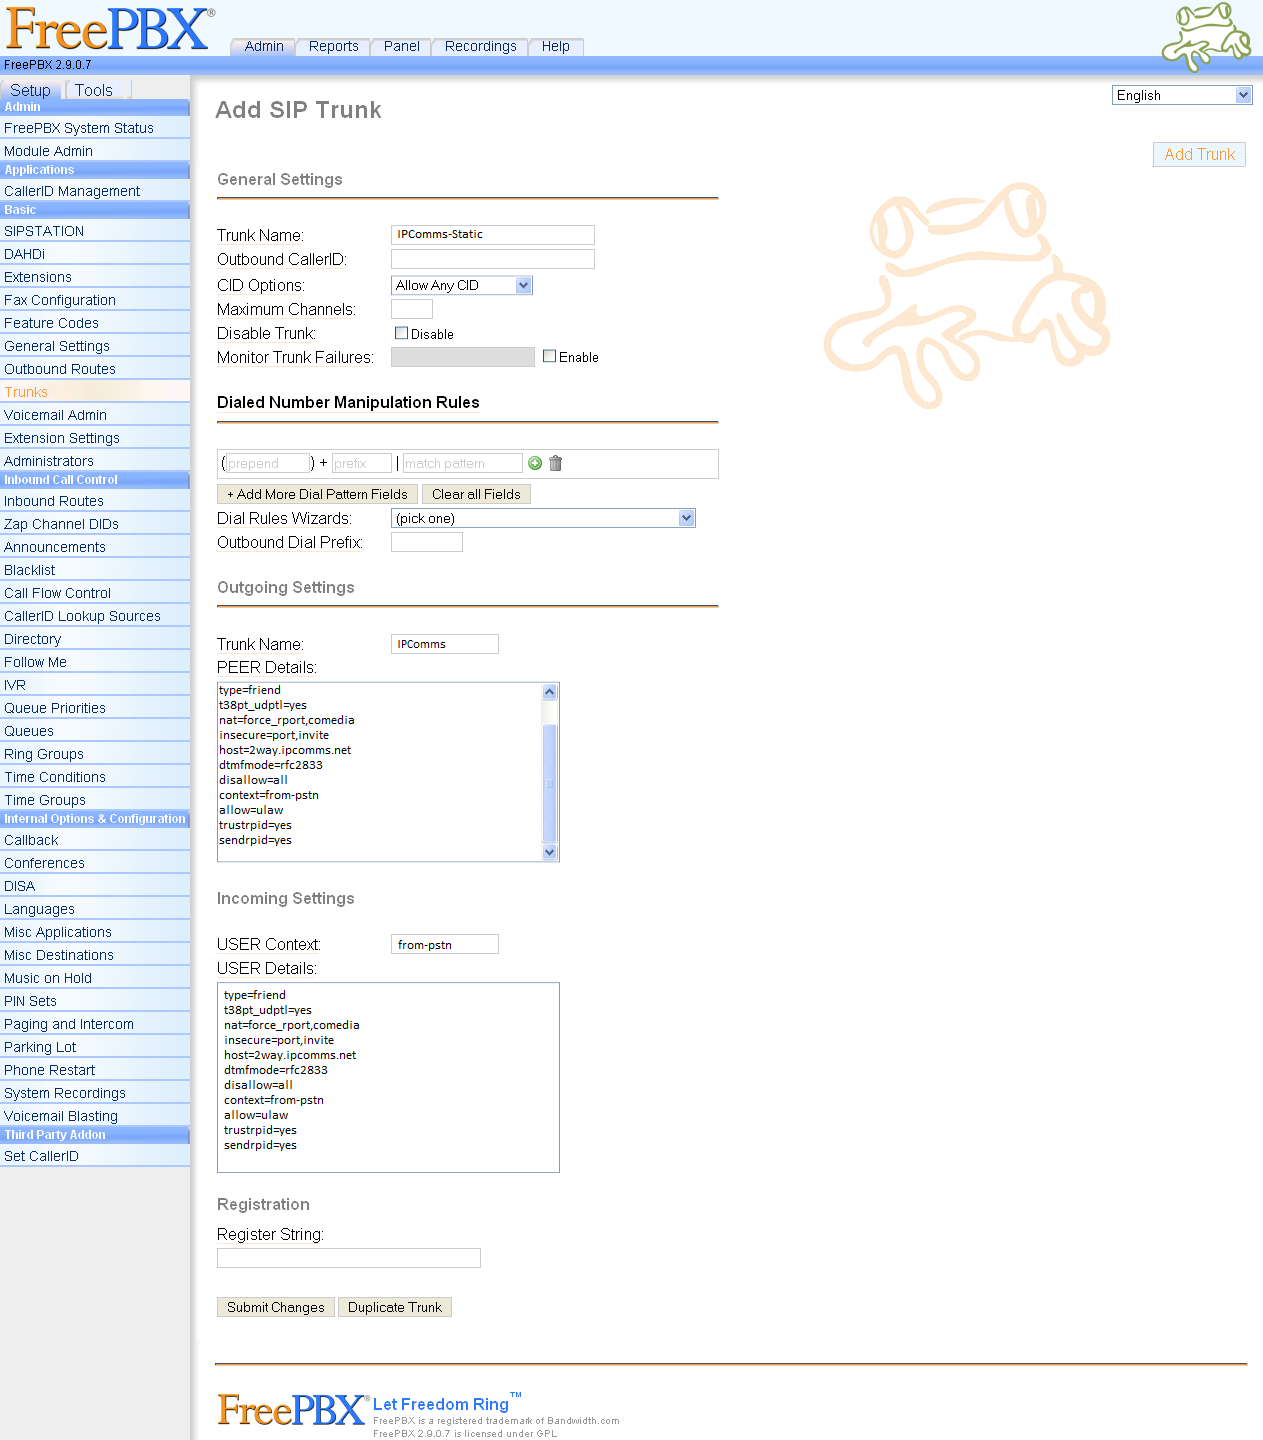
Be sure that your IP PBX and your network is secure and limited only to those with appropriate access permissions.
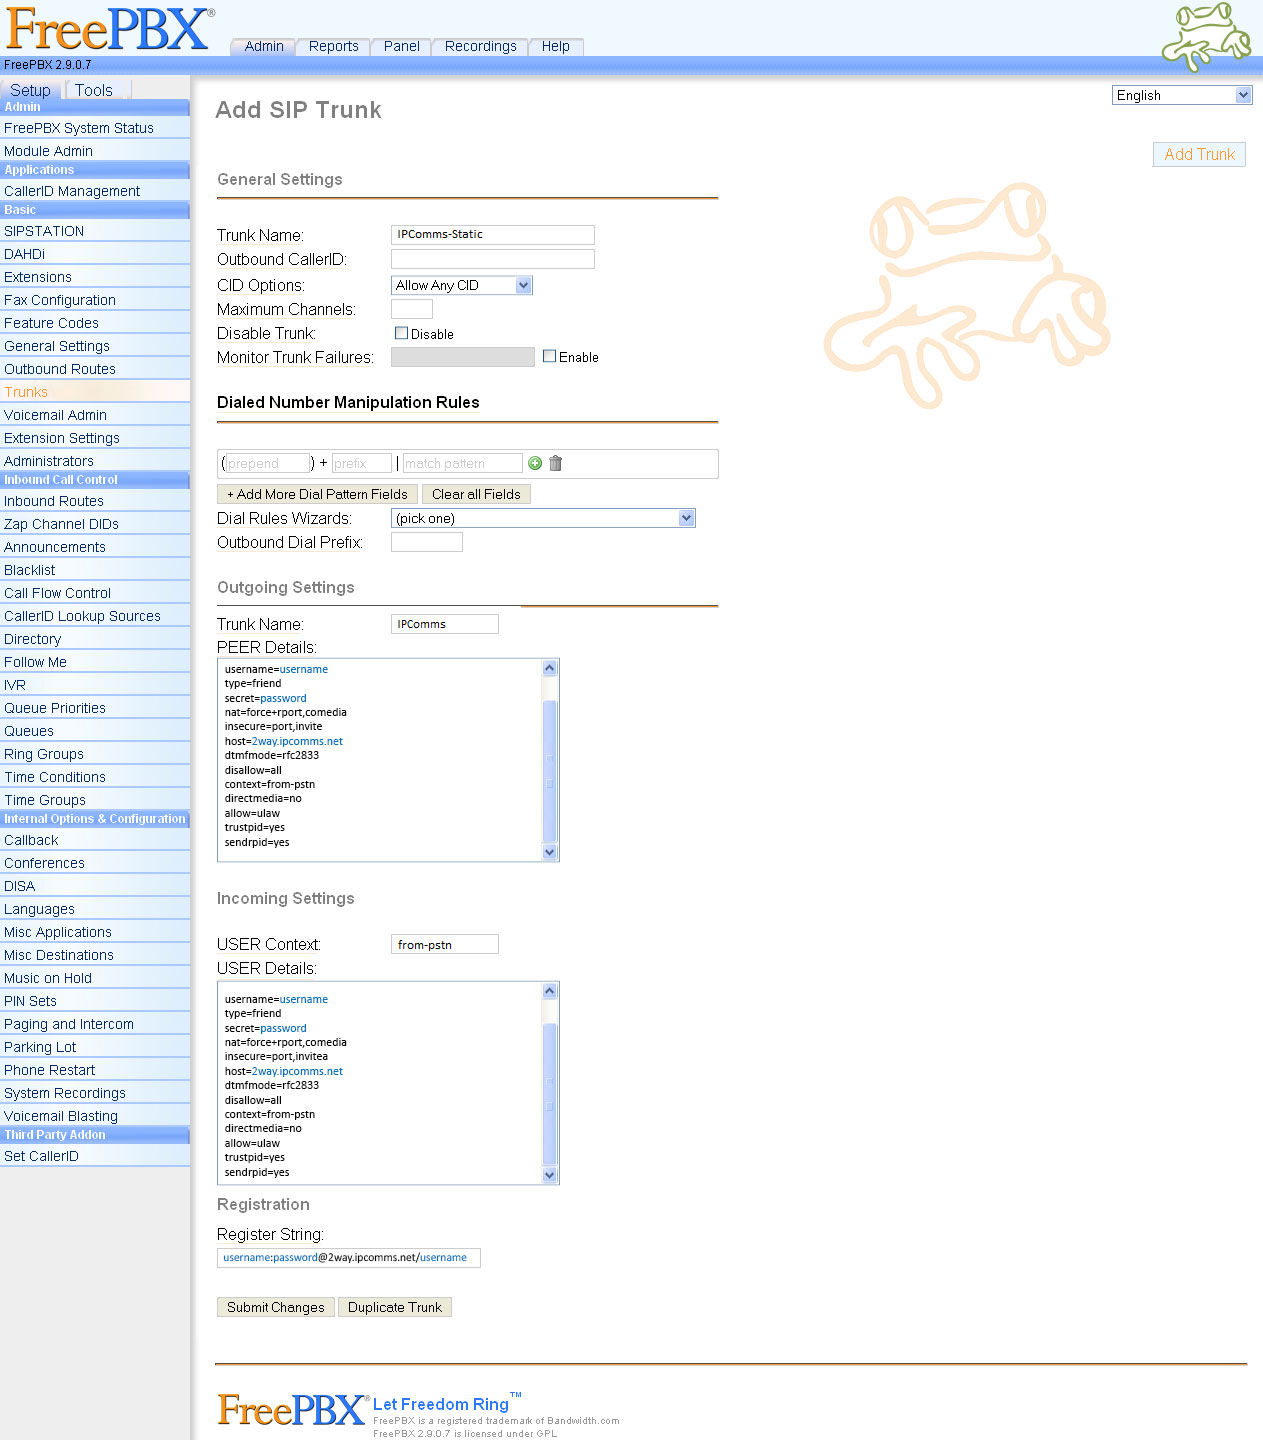
Never, never, never use the default passwords on any system.
Never use the same Username and password on your extensions.
Place your PBX behind a firewall
Make it private – Nat is your friend!
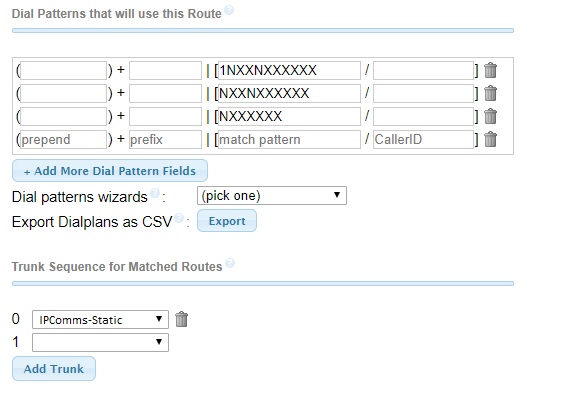
Keep inbound and outbound routing separate (asterisk)
Limit registration by extensions to your local subnet.
Disable channels and services that are not in use
Make it harder for SIP scanners
Limit and restrict routing and phone number dial plans
Audit your system security regularly
For a complete list of security steps, please see (11 steps to secure your IP PBX).