Trixbox™ - open platform for business telephony
Why use trixbox CE?
trixbox Community Edition began in 2004 as the massively popular Open Source IP-PBX project named Asterisk@Home. Since then, it has grown into the world's most popular distribution of Asterisk with over 65,000 downloads per month. trixbox is known for its flexibility to satisfy the needs of custom deployments and continues to be FREE .
trixbox CE allows you to build your own custom features and modules. The trixbox community is one of the largest and most active communities of trixbox and Asterisk users in the world. The members of this community work every day to help each other answer questions, resolve issues, fix bugs, make enhancements, and develop projects. trixbox CE has all the benefits of open source plus a commercial company standing behind it.
Download: trixbox
Configuring trixbox trunk for inbound callsSTEP 1Connect to your trixbox using a PC in your network by typing HTTP://YourAsteriskIpaddress in your web browser. STEP 2Select FREEPBX under the Asterisk Menu STEP 3Click Trunks then - Add SIP Trunk. STEP 4Enter the following information (see example below): STEP 5Click Submit Changes.
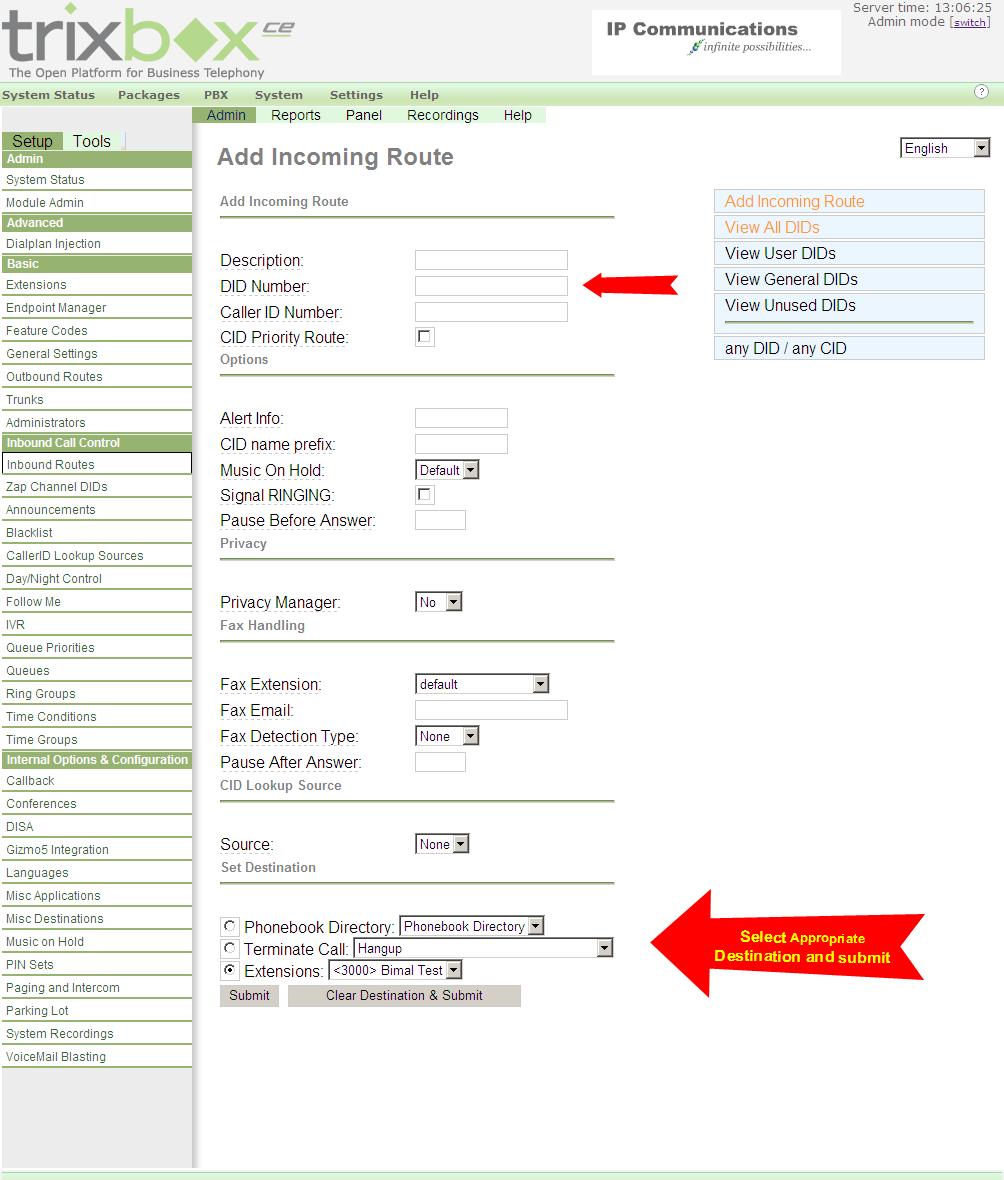
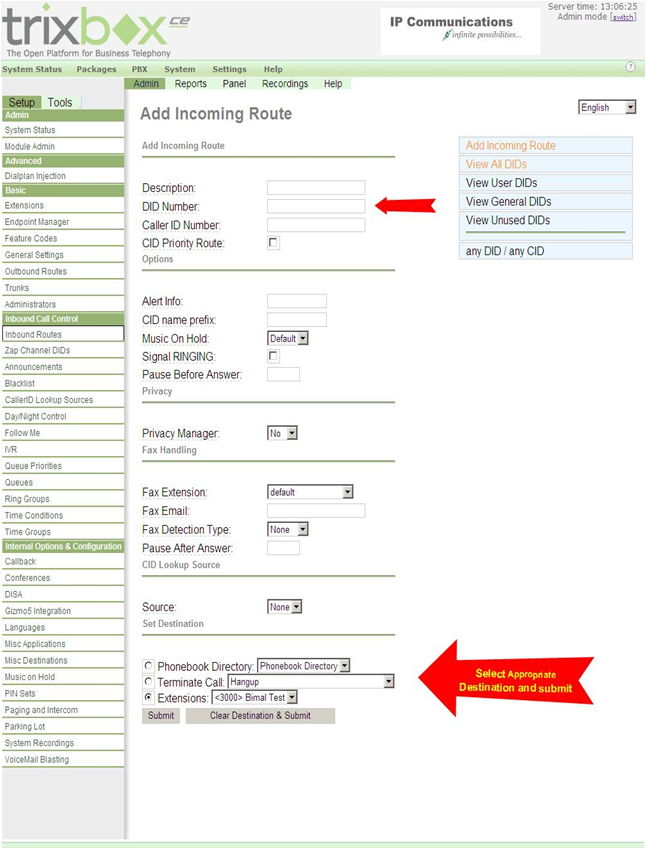
STEP 6Next go to the “Inbound routes” Tab to set the call routings. Populate “DID Number” field with a particular DID that you wish to route to a destination or alternatively, you can leave it empty, and all DIDs will be routed to one selected route. |


