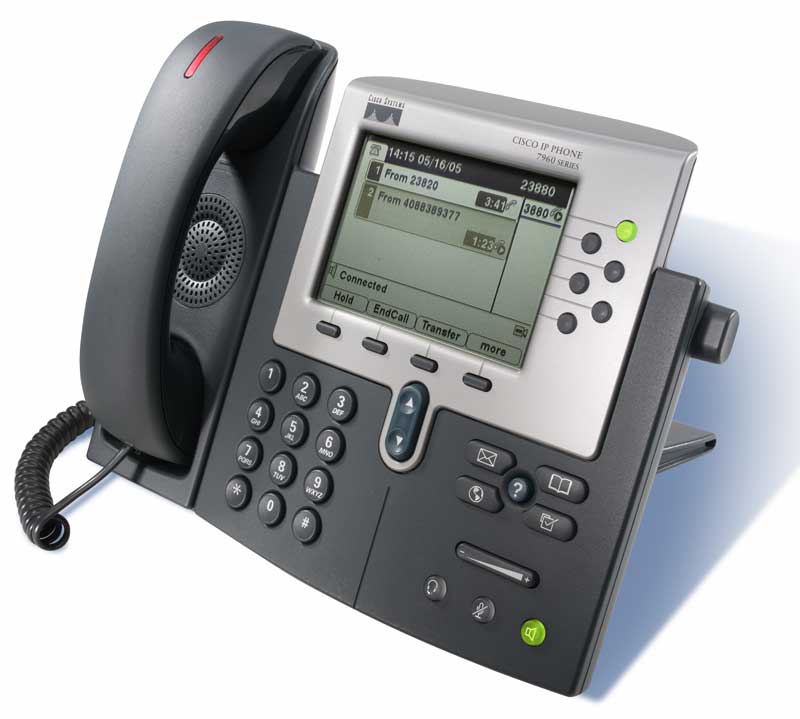
Cisco IP Phone 7940/7960™ Configuration Guide
 The Cisco Unified IP Phone 7940G is well suited for employees in a basic office cubicle environment--such as transaction type workers--who conduct a moderate amount of business by phone. The Cisco Unified IP Phone 7940G provides Access to at least two telephone lines (or a combination of one line and one direct-access telephony feature such as AutoDial), high quality, hands-free speakerphone capability and built-in headset connectivity.
Configuration Instructions:
Cisco IP Phone 7940 / 7960 VoIP settings & configuration Prior to use, the Cisco IP Phone must be SIP enabled. You can check this by verifying that the correct SIP firmware is installed. Check this by verifying that a SIP logo is in the upper right corner of the Cisco IP Phone's display. This option must be obtained by contacting Cisco.
STEP 1: Unlock the phone by pressing by pressing "**#"
STEP 2: Press the button that reads ‘settings’
STEP 3: Configure your network’s IP information in the "Network Configuration Menu" (This is where you set your IP Address, Subnet Mask and Default Gateway or enable DHCP option)
STEP 4: Choose the ‘SIP Configuration’ option
- Select ‘Line 1’
- Enter the ‘Username’ we sent you via your Sign Up confirmation email in both the "name" and "authentication name" sections.
line1_name : "Username"
line1_authname : "Username"
- Next type the password we assigned you on your Sign Up confirmation email
phone_password : **********
- Then enter your proxy address
proxy1_address : "2way.ipcomms.net"
- Make your preferred codec
"g729a" or "g711ulaw"
- Press "back" then "save" to complete the configuration
STEP 4:
- Begin placing calls.
