sample-configs.png

Switchvox by Digium™ 

From the open-source telephony company Digium, switchvox is the voice over IP Unified Communications solution designed for small to medium-sized businesses. Based on Digium’s Asterisk open-source telephony engine, Switchvox SMB is an IP PBX that integrates a user-friendly Web interface with UC features such as fax, chat and video calling.
 

Download: switchvox
 

Configuration Instructions:


STEP 1

Switchvox can be downloaded from http://www.switchvox.com. For the purposes of this configuration guide, the version used is Free Edition 1.0 v 9525.

STEP 2

Make sure your computer has the necessary requirements to sustain the PBX .  Once you have downloaded and installed your copy of Switchvox, open the web admin page at https://x.x.x.x/admin (where x.x.x.x is the ip address you gave to your Switchvox pbx). 
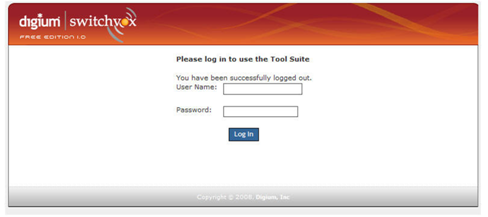
STEP 3

Login by typing your username and password at the login screen
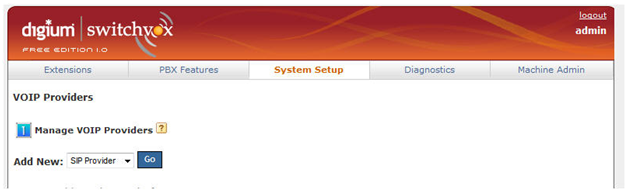
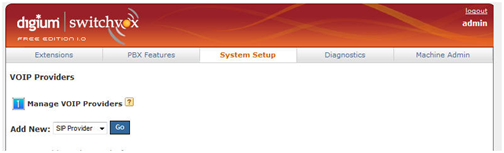
Switchvox Sample Config

STEP 4

Next, you will see the main menu.  To begin the adding of an IP Communication trunk select System Setup --> VoIP Providers.

STEP 5

Now, you will begin creating an Inbound Trunk.  This inbound trunk will be used to receive calls (DID & Toll Free numbers for example) from IP Communications. 

Begin by selecting SIP Provider and then clicking Go.

Switchvox Configuration Sample

STEP 6

  1. In the next steps, you will enter your inbound trunk registration information.  Depending on the registration type you requested at signup, there are two ways that you can register your device.

SIP Username Authentication:

For SIP Username Authentication: If you have a paid account with SIP Registration, enter the the following information found within your IP Communications provisioning letter you received at signup.  This information can also be found by signing into AMI at (www.myipcomms.net) and to the Technical -->Trunk Configuration section.  Once finished click Add SIP Provider.

SIP Provider Name:             “IPC-Inbound”

 Your Account ID:                SIP User (from provisioning letter)

 Your Password:                   SIP Password (from provisioning letter)

Hostname/IP Address:          SIP Domain/Proxy (from provisioning letter)

Callback Extension:              Default ext. to ring when receiving a call from this trunk. 

Switchvox Sample Config


You should see a “successfully added new SIP Provider” screen if successful. Click “Back to VoIP providers” to return to the providers page.

Switchvox


You should see the IP Communications trunk you just created in the VoIP Providers list.   Place an inbound call, your default extension should receive the call.

Switchvox


OPTIONAL 

This step is optional, and is only used if you are also setting up an Outbound (TalkinIP) trunk.  If you have not signed up for TalkinIP outbound service, you can skip this step.

STEP A: 

To create an outbound (TalkinIP) trunk, go to System Setup VoIP Providers and select SIP provider and click go.

Switchvox

STEP B:

Create a new trunk using the TalkinIP (www.talkinip.net) registration information you received during signup for TalkinIP Service.  Populate the screen below, with your information.

Switchvox Sample Config

STEP C:

You should see a Successfully added new SIP Provider screen if successful.  Click “back to VoIP providers” to return to the providers page.

Switchvox

STEP D:

You should see the IP Communications trunk you just created in the VoIP Providers list.

Switchvox VoIP Providers Page